Resize a LVM partition in a Debian VirtualBox
Have you ever developed in a Debian VirtualBox running out of space? This happened to me some days ago when I have imported the live database for debugging. Following this step by step tutorial, you can increase the disk space.
1. Increase VirtualBox HardDisk
Open a terminal and go to the folder of the VirtualBox instance in which you want to resize the partition. You will either find a VMDK or a VDI file. Close VirtualBox before you continue.
1.1 For VMDK format
You first have to convert the vdmk file to a vdi file:
VBoxManage clonehd --format vdi filename.vmdk filename.vdiAfter this we increase the vdi to 30000 megabytes:
VBoxManage modifyhd filename.vdi --resize 30000Then we convert the vdi back to vdmk:
VBoxManage clonehd --format vmdk filename.vdi filename.vmdk1.2 For VDI format
We increase the vdi to 30000 megabytes:
VBoxManage modifyhd filename.vdi --resize 300002. Increase partition with a live cd
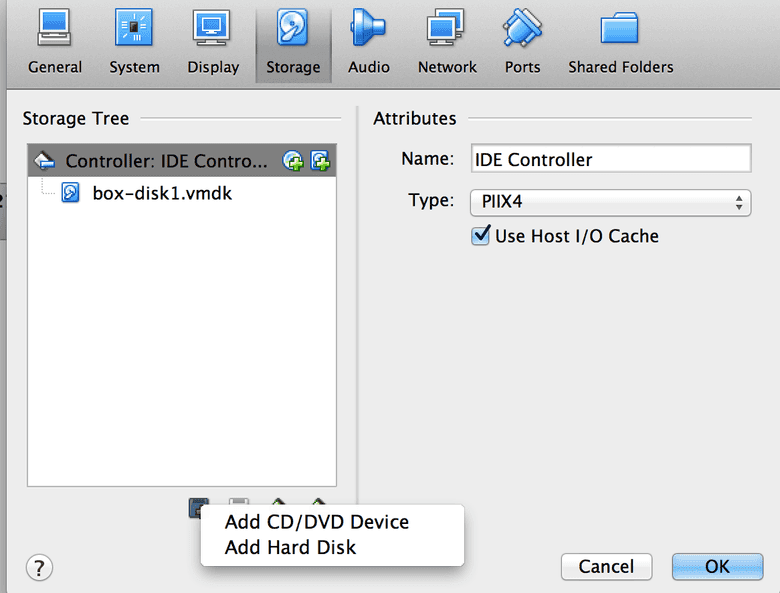
Since the partition in a VirtualBox is mostly the root partition, we have to boot with a live cd including GParted. Include the CD in your VirtualBox and boot into the live distribution.

Open GParted, open the partition and resize the space. Now save and click on Apply.

After this step, power off the machine and eject the live cd.
3. Increase the LVM in Debian
Boot into your Debian VirtualBox and extend the LVM with the following command. My LVM was 10 GB before so i had to increase the LVM by 20.
lvextend -L+20G /dev/mapper/vagrant-rootWhen you have reached the maximum size, you finally have to resize the filesystem.
resize2fs /dev/mapper/vagrant-rootYour LVM partition has been resized now.